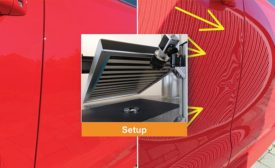
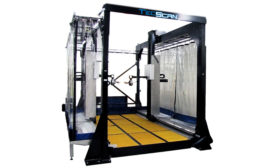
Machine vision processes have become standard practice in quality assurance. Inspecting reflective surfaces, however, presents a challenge. A technology known as deflectometry can be used to reliably detect all types of defect even in these circumstances.
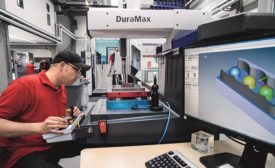
Mold and tool makers are under pressure to reduce their throughput times and unit costs in order to stay in business. How much of a competitive edge do companies enjoy with a zero-point clamping system and a measuring machine? The CEO of WESCHU GmbH ran the numbers.
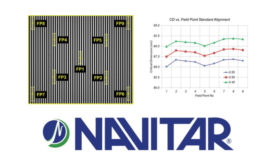
Russ Hudyma, Chief Technology Officer with Navitar, discusses the benefits of precision lens-to-sensor active alignment within the field of machine vision for high-end inspection.
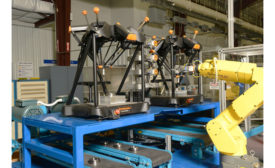
In the previous article, we touched upon NDT 4.0 and provided a glimpse into what it is and how it is transforming industries around the globe. Now we will dive into a segment of NDT 4.0, automation, and look at some examples that highlight how it is changing companies for the better.
Pick up any shaft or threaded fastener. How are you going to check it? An outside micrometer is most often the go-to tool for measuring diameters. A height gage or drop indicator could be used to check dimensions between part features, while an optical comparator is a good way to inspect thread forms or measure a groove width.
While Taoist philosopher Lao Tsu was the first to make the statement, “Those who know do not speak. Those who speak do not know” part of his formal teachings, some form of the wisdom behind this statement has been attributed to such great philosophical minds as Socrates, Buddha, and Jesus.
As the need for quality inspection increases and in some cases, requires 100% inspection, the inspection process can become a bottleneck in manufacturing. To increase efficiencies, manufacturers are moving toward automated inspection.
It is indisputable that automated controls have made the post-process monitoring of finished parts faster and easier than ever before. Even when applied after machining is complete, intelligent controls can provide three essential quality functions: automatic logging of the process routes and outcomes of cutting operations, on-machine verification, and post-process reporting.
Ductile iron is an iron-carbon casting material whose matrix includes carbon in the form of nodular graphite particles. Rounded graphite nodules in the ductile iron matrix offer greater resistance to stress concentration when compared to graphite flakes (as in gray cast iron) and, therefore, inhibit the creation of cracks.