Test & Inspection
Part 2 of 2 - Practical Acceptance 'Limits' are a judgement call.
Read More
How Leak Testing Works
A leak test is a procedure used to determine if an object, product, or system functions within a specified leak limit.
February 8, 2020
Hardness Testing Changes with the Times
As 2020 marks the 100-year anniversary of the world’s first commercial hardness tester, the technology is as significant as ever.
February 1, 2020
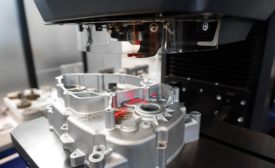
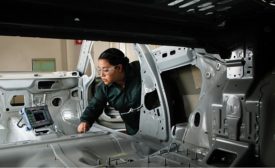
Trends in Automotive Inspection
Intelligent factories, electric vehicles and traceability are just some of the factors that are influencing change in automotive part inspection, say experts in the field.
January 15, 2020
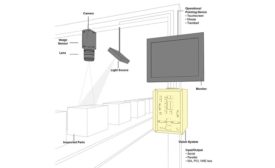
A Quality Assurance Toolset for Modern Manufacturers
Before you can fully utilize machine vision, you need to understand the basics.
January 8, 2020
Analyzing Unexpected Structural Defects in Electronic Components
Anomalies may lie outside the scope of the established imaging parameters.
January 8, 2020
Introducing E-Mobility Inspection
Meet the quality inspection solutions for all components of E-Mobility: Battery, Power Electronics, E-Motor and Transmission.
January 2, 2020
Stay in the know with Quality’s comprehensive coverage of
the manufacturing and metrology industries.
eNewsletter | Website | eMagazine
JOIN TODAY!Copyright ©2024. All Rights Reserved BNP Media.
Design, CMS, Hosting & Web Development :: ePublishing


