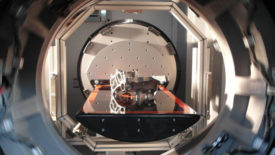
NDT
NDT | Eddy Current
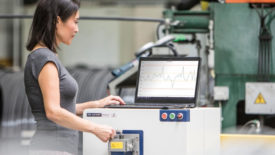
Eddy Current Testing in Manufacturing Applications
Eddy current provides a balance of speed, reliability, cost effectiveness, and versatility.
February 8, 2022
NDT | XRF
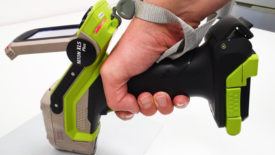
How to Measure Metal Coating Thickness Using Handheld X-ray Fluorescence Analyzers
Handheld XRF is an indispensable tool in quality assurance that provides multiple benefits.
February 8, 2022
NDT | LIBS
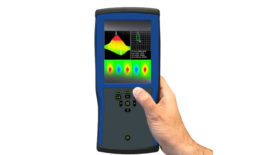
How to Evaluate Accuracy and Why You Should Calculate the Error Margin of Spectroscopy Measurements
We must be able to estimate the error in a spectroscopy measurement to assure ourselves, and our customers, of the true composition of the material.
February 8, 2022
NDT | Computed Tomography
How Nondestructive Testing is Driving Sustainable Quality in the Automotive Sector
NDT techniques are available that are just as quick as destructive methods but also offer a more sustainable use of raw materials.
February 8, 2022
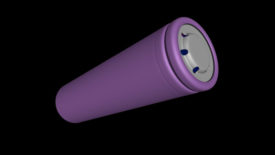
NDT | Computed Tomography
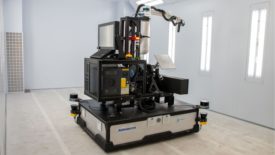
Computed Tomography's Solution to Battery Safety Concerns
A battery is a great example of the value of CT compared to simple radiography.
February 8, 2022
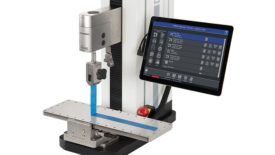
NDT
Quality 101: The Advanced Force Tester
Assuring Material Properties Through Material Testing
February 8, 2022
Quality Headline
ASM, ASTM International Announce Educational Collaboration
December 13, 2021
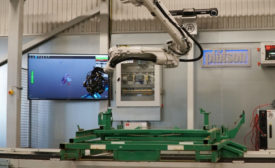
How Automation Helps to Improve Quality
Automating quality control can look different for every organization.
December 10, 2021
Stay in the know with Quality’s comprehensive coverage of
the manufacturing and metrology industries.
eNewsletter | Website | eMagazine
JOIN TODAY!Copyright ©2024. All Rights Reserved BNP Media.
Design, CMS, Hosting & Web Development :: ePublishing
