NDT
NDT | Back 2 Basics
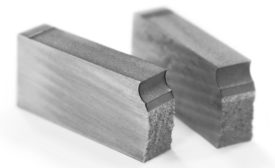
Fracture Testing in Quality Control
With advances in standardization and analysis software, it can be more reliable and user-friendly than ever.
November 8, 2021
NDT | Trends
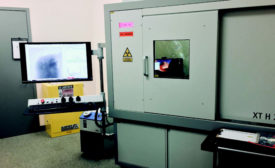
Size, Safety and Software: Driving Innovation in Nondestructive Testing of Electronics
There's no doubt that technology is rapidly advancing in the automotive industry.
November 8, 2021
NDT Flaw Detection
How Remote Visual Inspection Technology Contributes to a Safer World and a Robust Global Economy
Remote visual inspection products enable us to see and evaluate defects in machinery and industrial equipment.
November 8, 2021
NDT | Additive Standards
Additive Manufacturing & Standards
When new industries, technologies, or processes emerge and grow, so does the need for standardization.
November 8, 2021
Sponsored Content
White Paper: University Uses Advanced Micro-CT Scanning for Inspection of Historical Artifacts
October 28, 2021
NDT | Back 2 Basics
What Can Eddy Current Testing Do for Me?
This versatile tool can be used to solve or prevent material with property issues from leaving a munufacturing facility.
October 15, 2021
NDT | Certification
Nondestructive Testing Certification Programs Today
The need to formalize the qualification of NDT practitioners gradually became apparent.
October 15, 2021
NDT | Ultrasonics
The Critical Role of Ultrasound in Advance Additive Manufacturing for Industrial Applications
Inspection plays a critical role during all phases of product development and implementation, making UT methods an enabling technology for new AM applications.
October 15, 2021
NDT | Computed Tomography
Industrial CT: 3D Inspection and Metrology for 3D Printing
CT inspection of the final part can check that the manufactured part exactly matches the initial 3D design, providing dimensional analysis and metrology of all critical internal dimensions.
October 15, 2021
Stay in the know with Quality’s comprehensive coverage of
the manufacturing and metrology industries.
eNewsletter | Website | eMagazine
JOIN TODAY!Copyright ©2024. All Rights Reserved BNP Media.
Design, CMS, Hosting & Web Development :: ePublishing

