Articles by George Schuetz
Measurement
The time has come to adopt master deviations as a necessary practice in modern manufacturing processes.
Read More
Measurement
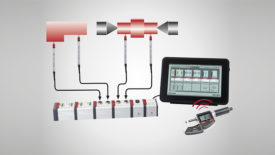
Enhancing Manufacturing Efficiency with Integrated Wireless Gages and Quality 4.0 Principles
Three key factors ultimately ensure confidence in the overall system.
January 17, 2025
Measurement
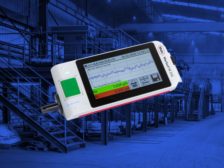
A New Touch for Handheld Gaging
Making high-precision surface roughness, waviness, and profile measurements doesn’t always require that large system in the back corner of the manufacturing area.
August 8, 2024
Quality 101
Is it a Digital Caliper – or a Swiss Army Knife?
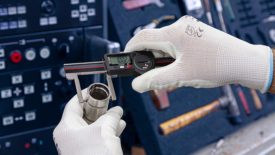
Even a digital caliper — which takes most of the guesswork out of reading the measured value — still requires skill to correctly apply it to the measured dimension.
September 19, 2023
Air Gaging Moving Forward Faster Than You Think
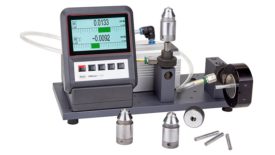
Let's look at how air tooling and its accessories are moving into today's modern manufacturing processes.
July 27, 2023
Diameter Measurement
How to Measure Big IDs and ODs
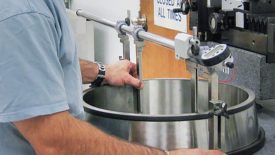
As with any diameter measurement, there are several possible solutions.
June 7, 2023
Measurement
Handheld Gaging: It All Comes Down To The Touch
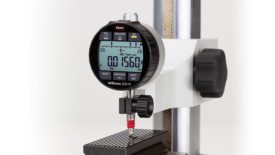
Combining the best of metrology and other industries creates products that are simple for the operator to use while also providing very complex measuring results.
September 1, 2022
Measurement
It is Never Too Late to Teach an Old Custom Gage New Tricks
There are myriad ways to breathe new life into existing gages without the need to invest in new gaging.
March 8, 2022
Measurement
Modern Gaging Trends: Technology Evolves to Meet the Needs of Today’s User
Implementing these new technologies will make today's gages easier to use, offer more capabilities in an easier-to-read fashion and survive point of manufacture gaging.
September 1, 2021
Stay in the know with Quality’s comprehensive coverage of
the manufacturing and metrology industries.
eNewsletter | Website | eMagazine
JOIN TODAY!Copyright ©2025. All Rights Reserved BNP Media.
Design, CMS, Hosting & Web Development :: ePublishing


