Quality 101
Choose and Use the Proper Thread/Ring Gage
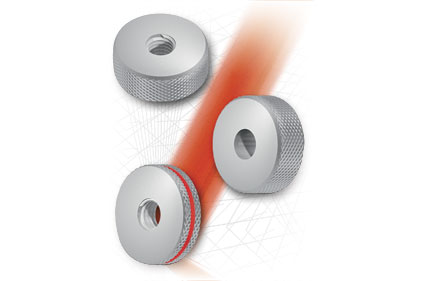
Ring gages are used for comparative gaging as well as for the checking, calibrating or setting of gages in a wide variety of industries.

A highly common application for gages is inspecting threaded holes and shafts. While using plug gages to check threaded holes in manufactured parts is a popular practice, checking shaft, dowel and fastener diameter using ring gages is perhaps less common but equally important. There are also smooth ring gages for checking non-threaded parts.
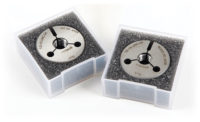
Ring gages provide a go/no-go assessment of the specified dimensional tolerances or attributes of pins, shafts, or threaded studs. Ring gages are used for comparative gaging as well as for the checking, calibrating or setting of gages or other standards in a wide variety of industries, including machine tool, automotive, oil and gas exploration, and other metal working applications.
Go thread ring gages
The go thread ring gage checks the so-called “mating size” of the external thread and screwing-on capability. In doing so, it checks the largest dimension of the external thread pitch diameter including certain form deviations in the thread, e.g. pitch and thread profile angle deviations. It also checks whether the straight flank piece is long enough, such that the curve on the external thread root does not extend too far into the profile flank. The root curve itself is not checked. The major diameter is also not checked by this gage.
The go thread ring gage must be able to be screwed on by hand along the full length of the workpiece thread without force. The go thread ring gage is subject to greater wear and should be checked at regular intervals with a wear check plug gage. It should be noted that the thread length is not less than 80% of the thread engagement length of the workpiece thread.
No-go thread ring gages
The no-go thread ring gage is designed to check whether the actual pitch diameter of the workpiece external thread falls below the prescribed smallest size. The external thread major and minor diameters are not tested here.
The no-go thread ring gage has a thread length of at least three threads. The thread profile has a truncated crest. The no-go thread ring gage must be monitored regularly with a wear check plug gage.
The no-go thread ring gage must not be able to be screwed onto the workpiece thread (from both sides) by hand for more than two threads without force. The two revolutions are determined by screwing off the ring gage.
Smooth ring gages for external thread major diameters
There are smooth go and no-go ring gages for checking thread major diameters. As the major diameter can change through thread cutting, an inspection is required after the thread has been completed. Generally speaking, a check of the external thread major diameter should be made before gaging the external thread pitch diameter.
It must be possible to push the smooth go ring gage for the external thread major diameter along the entire thread length without any force. It must not be possible to push the smooth no-go ring gage for the external thread major diameter over the workpiece thread by more than two pitches (2 x P) from the start of the thread.
Smooth ring gages for non-threaded shafts
There are also smooth go and no-go ring gages used for gaging shaft diameters, especially for components that are easily deformed.
The smooth go ring gage checks the maximum shaft dimension including certain form deviations, e.g. concentricity and cylindricity. The smooth, cylindrical go ring gage must be able to be paired with the shaft over the entire length by hand without using force.
The smooth no-go ring gage checks whether the shaft has fallen below the prescribed minimum shaft dimension. It must not be possible to pair a smooth no-go ring gage with the shaft without any force.
Looking for a reprint of this article?
From high-res PDFs to custom plaques, order your copy today!


