Home » metrology
Articles Tagged with ''metrology''
NDT | Trends
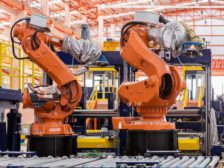
There's no doubt that technology is rapidly advancing in the automotive industry.
Read More
NDT Flaw Detection
How Remote Visual Inspection Technology Contributes to a Safer World and a Robust Global Economy
Remote visual inspection products enable us to see and evaluate defects in machinery and industrial equipment.
November 8, 2021
NDT | Additive Standards
Additive Manufacturing & Standards
When new industries, technologies, or processes emerge and grow, so does the need for standardization.
November 8, 2021
Management
What Your 3rd Party Auditor Wishes You Knew About Supplier Management
It's time to take the mystique out of supplier management, especially for small and medium sized organizations.
November 8, 2021
Software & Analysis
Quality Inspection Software: Choosing The Right Option For Your Application
A combination of hardware and software make up any vision system.
November 1, 2021
Test & Inspection
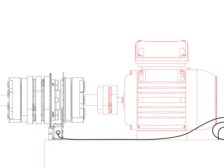
Getting The Most Out Of Torque Testing
First and foremost, it's important to understand what a torque transducer is before implementing a test.
November 1, 2021
Measurement
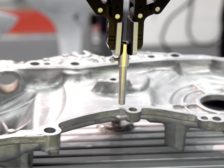
The Future of CMMs
Although the CMM has been around for more than half a century, advancements have allowed it to maintain its position as the go-to technology for quality inspection.
November 1, 2021
Quality 101
Calibration 101: It's An Important But Often Overlooked Aspect of Quality
November 1, 2021
NDT | Back 2 Basics
What Can Eddy Current Testing Do for Me?
This versatile tool can be used to solve or prevent material with property issues from leaving a munufacturing facility.
October 15, 2021
Stay in the know with Quality’s comprehensive coverage of
the manufacturing and metrology industries.
eNewsletter | Website | eMagazine
JOIN TODAY!Copyright ©2024. All Rights Reserved BNP Media.
Design, CMS, Hosting & Web Development :: ePublishing
