Home » metrology
Articles Tagged with ''metrology''
NDT | Back 2 Basics
Flaw Detection 101
Each NDT method has its advantages and disadvantages, so knowing what your flaws of interest are and where they tend to be located can be extremely helpful.
June 9, 2022
NDT | Trends
The NDT Trends of 2022
Learn more about the challenges and trends in NDT today.
June 8, 2022
NDT | Fatigue Testing
The Future of Fatigue Testing
Newer techniques are on the rise. As manufacturing evolves, so too does fatigue testing.
June 8, 2022
NDT | Additive Standards
Using AM to Alleviate Supply Disruptions, Without Jeopardizing Quality
The use of additive manufacturing has been on a strong and steady incline for decades.
June 8, 2022
Case Study
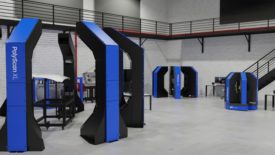
MRB Guss Ensures the Quality of Its Cast Parts with X-ray
With an x-ray inspection machine, the company is able to guarantee the quality of the castings faster and more comprehensively.
June 8, 2022
Management
6 Key Considerations For Applying Collaborative Robots
The extent of collaboration helps determine the need for a cobot.
June 8, 2022
Minimize Supply Chain Delays With Robust Production Lines
Maximize metrology and minimize bottlenecks to keep your production lines running at full capacity.
June 6, 2022
Measurement
Digital Gaging: Embracing The Accessibility Afforded By Today’s Technology
Data reliability is more important than ever.
May 30, 2022
Stay in the know with Quality’s comprehensive coverage of
the manufacturing and metrology industries.
eNewsletter | Website | eMagazine
JOIN TODAY!Copyright ©2024. All Rights Reserved BNP Media.
Design, CMS, Hosting & Web Development :: ePublishing


