Home » nondestructive testing
Articles Tagged with ''nondestructive testing''
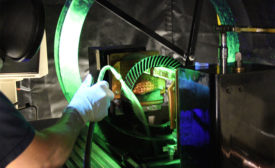
We’re always faced with deciding which nondestructive testing method is the most appropriate for detecting a specific flaw type.
Read More
8 System Performance Tools for Magnetic Particle Inspection
Learn more about magnetic particle inspection tools and requirements.
April 1, 2019
The Ultimate Guide to Visible Dye Penetrant Testing
Some handy tips for beginners who are new to visible dye penetrant testing or NDT pros who want an easy reference guide.
February 1, 2019
Alternating Current Field Measurement Testing
A number of industries use ACFM to inspect welded connections for surface-breaking defects.
November 1, 2018
The Application of Digital Radiography in the Aerospace Industry
Many different parts can be tested and inspected using computed radiography.
September 8, 2018
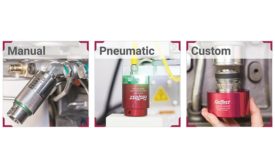
Leak Testing Trends, Best Practices & the Importance of the Connection
Industry 4.0 moves into the leak testing space.
September 1, 2018
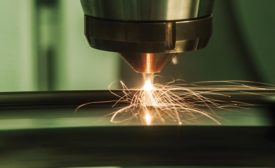
Additive Manufacturing and Inspection Difficulties
Traditional nondestructive inspections are performed much the same for additive parts, but there are some new limitations introduced by the AM methods.
July 8, 2018
Still the One: The Enduring Attraction of Magnetic Particle Inspection
MPI can be applied to many industries and uses, ranging from roller coasters and nuclear power plants to aviation and aerospace.
July 8, 2018
DICONDE in Digital NDT Taking Hold
With the continued demand for more speed, security, and cost reductions, we expect DICONDE in Digital NDT to continue making significant progress
July 8, 2018
Stay in the know with Quality’s comprehensive coverage of
the manufacturing and metrology industries.
eNewsletter | Website | eMagazine
JOIN TODAY!Copyright ©2025. All Rights Reserved BNP Media.
Design, CMS, Hosting & Web Development :: ePublishing
