Home » CMMs
Articles Tagged with ''CMMs''
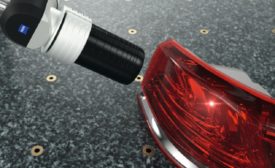
Confocal white light provides an alternative to traditional laser scanning, allowing for non-contact measurement of shiny and translucent parts.
Read More
New Heights in Height Gages
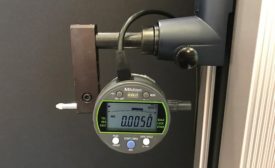
Today’s multipurpose height gages can perform with near-CMM capabilities.
March 8, 2018
The Rise of Multisensor Measurement
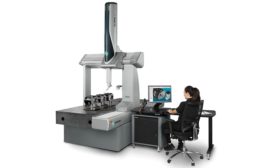
Multisensor CMMs can measure 2D and 3D parts interchangeably, giving manufacturers a competitive edge.
March 1, 2018
CMMs Offer Multiple Applications for the Shop Floor
Once limited to the lab, CMMs are finding a home in harsh manufacturing environments.
February 1, 2018
Accurate and Repeatable Measurement
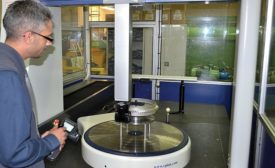
Using a rotary table on a CMM will improve process efficiency and productivity by reducing setup and process times.
October 24, 2017
Understanding the Metrology Language for X-ray Computed Tomography
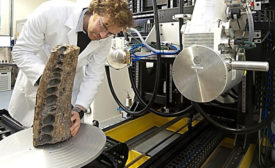
When compared to CMMs, CT as a technique applied for industrial dimensional metrology is relatively new.
October 17, 2017
Stay in the know with Quality’s comprehensive coverage of
the manufacturing and metrology industries.
eNewsletter | Website | eMagazine
JOIN TODAY!Copyright ©2024. All Rights Reserved BNP Media.
Design, CMS, Hosting & Web Development :: ePublishing
