Home » CMMs
Articles Tagged with ''CMMs''
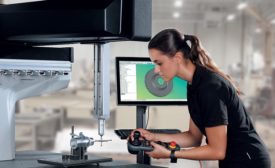
Boldly Re-engineered CMMs Take Throughput Seriously
Exploring trends and developments in today’s inspection equipment technology.
December 1, 2016
Measurement
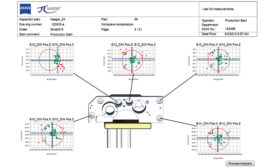
Increase Efficiency through Better Part Quality Communication
There are many ways to collect, manage, and search data generated in the course of an ongoing metrology operation.
May 1, 2016
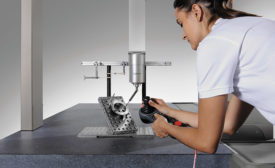
Expand Your CMM’s Capabilities
Moving from tactile and scanning systems to newer optical and laser sensor technology increases the productivity of your CMM.
August 5, 2015
INDUSTRY HEADLINE
Mitutoyo America Corporation Announces New East Coast M3 Solution Center
May 8, 2015
Sophisticated Metrology on a Budget
Buying the most economical system that meets your needs just makes sense, and finding that system need not be complicated.
December 2, 2014
Keep Pace With the Smart Factories of Tomorrow
Are CMM vendors ready for changing dynamics of end users?
December 2, 2014
Measurement
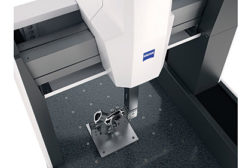
The Complete CMM
Have CMMs with multiple sensors—contact and noncontact—finally matured enough to become a complete measuring tool?
February 1, 2013
Stay in the know with Quality’s comprehensive coverage of
the manufacturing and metrology industries.
eNewsletter | Website | eMagazine
JOIN TODAY!Copyright ©2024. All Rights Reserved BNP Media.
Design, CMS, Hosting & Web Development :: ePublishing
