Home » 3D scanning
Articles Tagged with ''3D scanning''
Test & Inspection
Anyone can buy a 3D printer and set up a shop, but there are a few essential things to know — especially when it comes to mesh repair.
Read More
The Quality Show South
Podcast: Why 3D Scanning Applies to Manufacturing, Museums and Movies
February 22, 2024
Quality Headline
Hexagon’s Volume Graphics Software Wins Top Industry Award in Scanning, Metrology Category
December 20, 2023
Case Study
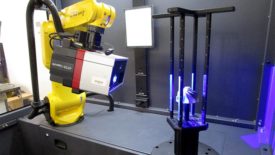
Hitchiner Manufacturing Overcomes Casting Challenges with Automated Blue Light 3D Scanning Technology
By implementing automation, Hitchiner increased repeatability and speed.
November 30, 2023
Test & Inspection
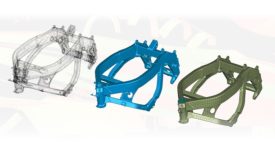
Advanced 3D Scanning Digitalization Technologies for NDT of Industrial Gas Turbine Components
Advanced 3D metrology software capabilities offer reliable and more efficient solutions to the limitations of conventional nondestructive methods.
August 23, 2023
Software & Analysis
Reverse Engineering Software For 3D
Once the model has been generated, you can use the software to analyze the model.
June 6, 2023
Stay in the know with Quality’s comprehensive coverage of
the manufacturing and metrology industries.
eNewsletter | Website | eMagazine
JOIN TODAY!Copyright ©2024. All Rights Reserved BNP Media.
Design, CMS, Hosting & Web Development :: ePublishing
