Home » 3D scanning
Articles Tagged with ''3D scanning''
Measurement
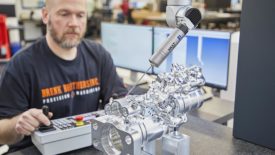
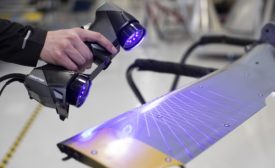
When are non-contact structured light 3D scanners better suited than touch CMMs?
Read More
Quality Headline
"Industrial Quality Solutions" Signifies More than Just a Name Change for Zeiss
June 28, 2022
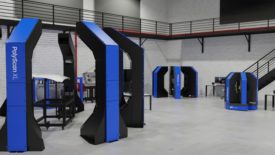
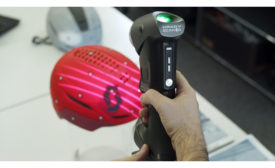
Quality Control With 3D Scanning
3D scanners are quick, accurate and record mass amounts of geometry, making them less laborious and more flexible than basic metrology tools.
January 3, 2022
The Benefits of Automation
The five reasons to consider, and have been considered for decades, about automation.
December 10, 2021
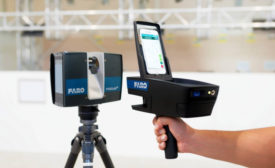
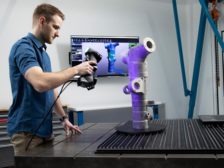
How 3D Scanning Solution Boost Quality Gains and Productivity
The key to being successful with automated measuring solutions is to simplify the deployment.
November 9, 2021
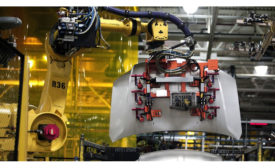
Why In-line and At-Line Metrology Solutions Are the Next Step in Automated Quality
Manufacturers who want to completely automate quality control must rethink how to conduct quality in the manufacturing environment.
October 11, 2021
Sponsored Content
White Paper: Compact 2D/3D Laser scanners with integrated controller reinvigorate profile measurements
August 1, 2020
Stay in the know with Quality’s comprehensive coverage of
the manufacturing and metrology industries.
eNewsletter | Website | eMagazine
JOIN TODAY!Copyright ©2024. All Rights Reserved BNP Media.
Design, CMS, Hosting & Web Development :: ePublishing
