Quality 101
Today you have a lot of choices in terms of hardware, software and gaging technology.
Read More
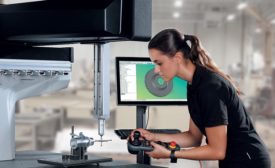
Navigating the New World of CMMs
How to select a CMM for your unique application.
February 1, 2017
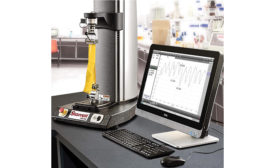
The Meaning of Force in Modern Metrology
Metrology specialists at Starrett explain how force measurement plays into “everyday ergonomics.”
December 1, 2016
Calibration: What You Need to Know
Calibration, certification and accreditation are terms that are sometimes used interchangeably, but they are actually not the same.
November 1, 2016
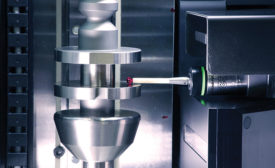
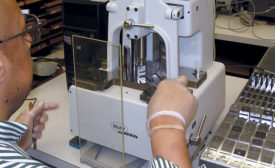
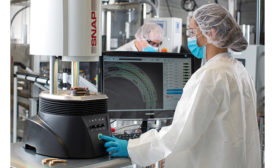
The Versatility of Vision Metrology
In the manufacturing world, speed and accuracy are high priorities. Vision technology provides both.
September 1, 2016
Quality 101
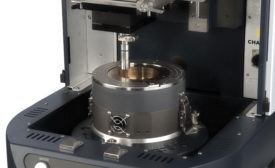
Why Perform Friction Tests
Combining versatile friction tests and surface texture measurements
August 1, 2016
Leak Testing 101
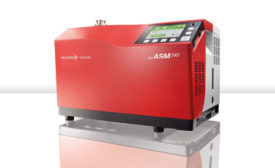
There will be a leak detection process suitable for your specific application
July 1, 2016
Quality 101
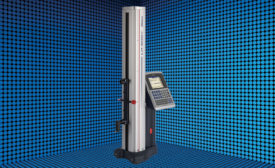
Ins and Outs of Height Gages
Know your height gages for efficient and accurate measurements.
July 1, 2016
Quality 101
Laser Trackers Propel Aerospace Productivity
With the advent of the laser tracker, precise, rapid, reproducible measuring over great distances finally became a reality.
June 1, 2016
Stay in the know with Quality’s comprehensive coverage of
the manufacturing and metrology industries.
eNewsletter | Website | eMagazine
JOIN TODAY!Copyright ©2025. All Rights Reserved BNP Media.
Design, CMS, Hosting & Web Development :: ePublishing
