There’s no question about this column. I accept the blame for what appears in this monthly effort for better or worse. This column is all about the standards I often refer to in my rants. I frequently encounter folks who question the information these standards contain and sometimes the question is valid but there are ways to challenge or change technical details within them.
I’ve commented on this subject from time to time but thought I’d have another go at it since the questions never seem to go away. I’m referring to the language used in our day-to-day work in measurement and calibration.
You’ve made the threaded parts and are confident they are okay because you’ve checked them with your gages. Then you get the call from the customer advising you that their gages have rejected the parts and they are demanding re-work or replacements ASAP.
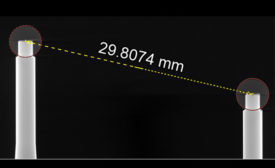
The need for nondestructive evaluation on large quantity production components is becoming more achievable with CT technology due to the advances in machine hardware and processing techniques over the past few years.
In recent columns I’ve commented on information requests accompanying calibration orders. Some of these are common and effective but some are not. Occasionally, they are brought about due to their inclusion in one standard or another but are misrepresented. In some cases, the standard they are from relates to in-house systems rather than calibration activities by outside parties.
I took a cursory look at this subject in a recent column but with the increasing number of companies expecting their calibration sources to make such decisions on their behalf, I thought a little more detail was in order.
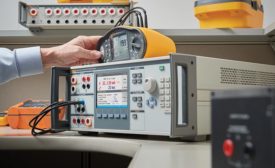
Fluke Calibration expands its line of pressure modules with the new PM500 Pressure Measurement Modules, a set of 46 modules ranging from low differential pressures up to 20 MPa (3000 psi).