ISO 17025 specifies quality management requirements for the competence and consistent operation of laboratories to produce precise and accurate test and calibration data.
Calibration reports are supposed to be clear and concise so the reader can understand the details. In fact, the ISO 17025 standard has a section that deals with this topic in specific terms so it would seem there should be no room for misinterpretation.
The first step to process improvement is machine performance measurement and diagnosis. However, it’s a step that many OEMs and service providers—even quality professionals—fail to approach with as much rigor as other steps, like process setting and in-process control.
“With great power comes great responsibility.” I’m guessing 4 out of 5 people would attribute this quote to Ben Parker, uncle of Peter Parker, from the Spider-Man movies and comic books.
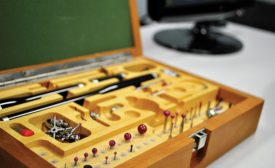
Establishing calibration intervals for gages and instruments is a tricky business, particularly if you’re starting from scratch. Calibration data, knowledge of metrology and experience come into play in this game so before we begin, let’s look at the goal we hope to achieve.
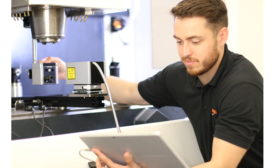
A number of measurement devices come equipped with internal or user calibration functions. Allowing the user to calibrate their measurement equipment on a more frequent basis gives greater control over the quality process; however, with great control comes great responsibility.
Despite best efforts, auditors find things. It is their job. Why wait until audit day to uncover problems? In the words of Walt Disney, “The way to get started is to quit talking and begin doing.”
I offered some comments that relate to gaging problems in the last column but thought it would be worth giving measuring instruments the same treatment.
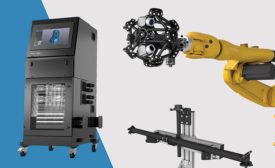
Creaform has launched the R-Series Productivity Station and the R-Series Autocalibration Kit. Both are key upgrades to its robotic metrology dimensional measurement solution, which offers an efficient alternative to traditional shop-floor CMMs.