Home » gages
Articles Tagged with ''gages''
Test & Inspection
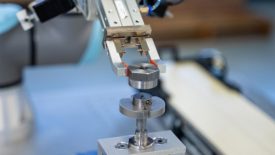
Automatic manual gauging improves process control, yield, and capacity.
Read More
Test & Inspection
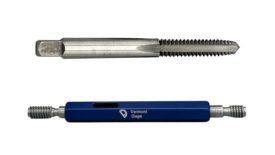
How Do Tap Limits Affect Gage Selection?
It is not always as simple as it sounds.
November 2, 2023
Diameter Measurement
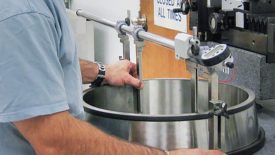
How to Measure Big IDs and ODs
As with any diameter measurement, there are several possible solutions.
June 7, 2023
Quality 101: The World Of Indicators
As they have advanced over the years, the initial concept of the indicator still holds true: a need to measure small measurements and angles.
April 15, 2022
Measurement
Calibration: Does My Gage Pass Or Fail? A How To Guide
Simply stating that your gage passed or failed a calibration does not tell the whole story.
April 1, 2022
Measurement
It is Never Too Late to Teach an Old Custom Gage New Tricks
There are myriad ways to breathe new life into existing gages without the need to invest in new gaging.
March 8, 2022
Stay in the know with Quality’s comprehensive coverage of
the manufacturing and metrology industries.
eNewsletter | Website | eMagazine
JOIN TODAY!Copyright ©2025. All Rights Reserved BNP Media.
Design, CMS, Hosting & Web Development :: ePublishing
