Home » gages
Articles Tagged with ''gages''
Rules, Ratios and Other Stuff
Even a seemingly straightforward matter can raise questions.
October 1, 2018
Measurement Dispute Resolution
And some advice to avoid such disputes in the first place.
May 7, 2018
INDUSTRY HEADLINE
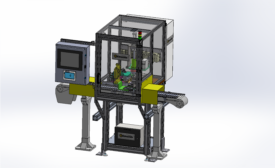
Edmunds Gages Launches Modular Automated Measuring Platform Gaging System
April 16, 2018
Easily avoided situations regularly encountered by gage makers.
Error by design
February 15, 2018
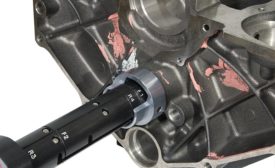
Custom Surface Finish Gages for Hard to Reach Places
When standard devices can’t provide expected results, a better solution is to custom design a gage to suit the specific application.
February 1, 2018
Thread Basics: Go / No-Go Acceptance
It can be beneficial for manufacturing companies to offer thread specific training to both machinists and quality personnel.
January 1, 2018
Stay in the know with Quality’s comprehensive coverage of
the manufacturing and metrology industries.
eNewsletter | Website | eMagazine
JOIN TODAY!Copyright ©2025. All Rights Reserved BNP Media.
Design, CMS, Hosting & Web Development :: ePublishing


