Home » gages
Articles Tagged with ''gages''
Column | Hill Cox
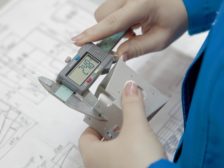
One of the hardest parts of doing your own gage calibration is having the right personnel to do the work.
Read More
Software & Analysis
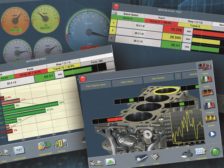
Gaging Software’s Changing Role
As manufacturers become leaner and integrate metrology in innovative ways, openness and interoperability are paramount.
October 8, 2021
Column | Hill Cox
Other Dimensions: Settling Measurement Disputes
Not all parties to a dispute understand the importance of uncertainty budgets.
October 8, 2021
Measurement | Calibrate Better
Smart Manufacturers Know the Importance of Calibration
August 1, 2021
Other Dimensions | Hill Cox
Hand Tool Calibration
Calibration of these instruments can be simple or complicated by those making a career out of the process.
July 15, 2021
Other Dimensions | Hill Cox
Plain Ring Gage Calibration
Short Range Comparison Techniques are the Most Popular for Calibrating Plain Rings.
June 15, 2021
Sponsored Content
White Paper: Learn about the Transformative Advantages of Wireless Measurement Data Collection for Industry 4.0
April 12, 2021
Stay in the know with Quality’s comprehensive coverage of
the manufacturing and metrology industries.
eNewsletter | Website | eMagazine
JOIN TODAY!Copyright ©2025. All Rights Reserved BNP Media.
Design, CMS, Hosting & Web Development :: ePublishing


