Home » Gage R&R
Articles Tagged with ''Gage R&R''
Other Dimensions
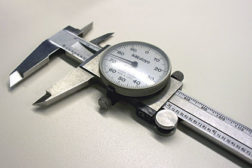
Don't Assume Resolution and Accuracy Are the Same Thing
Read More
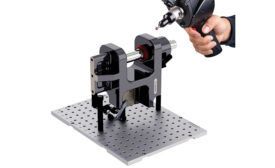
Fixturing Makes Strides as Manufacturing Advances
Manufacturing and part tolerance demands are driving evolution in fixture systems.
April 1, 2016
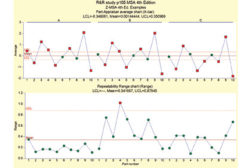
Poor GR&R Percentage, Now What?
Examining the components of a GR&R study can lead to the source of greatest variation in the measurement system.
March 2, 2015
Software & Analysis
How Does Standard Gage R&R Measure Up?
Learn more about the standard Gage R&R approach.
June 3, 2014
From the Editor
Harry Potter & the Engineering Design Process
Solving Voldemort-Sized Problems in Test and Measurement.
June 2, 2014
GR&R Software
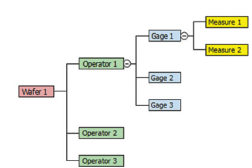
The Expanded Gage R&R Study
When a standard GR&R study is not enough, try an Expanded Gage R&R.
January 3, 2013
Stay in the know with Quality’s comprehensive coverage of
the manufacturing and metrology industries.
eNewsletter | Website | eMagazine
JOIN TODAY!Copyright ©2025. All Rights Reserved BNP Media.
Design, CMS, Hosting & Web Development :: ePublishing


