Home » coordinate measurement machine (CMM)
Articles Tagged with ''coordinate measurement machine (CMM)''
The need to optimize throughput is a common denominator across industry lines.
Read More
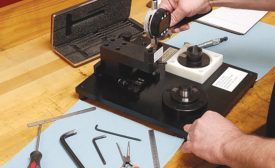
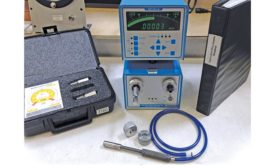
Air Gaging in a Quality Management System
The most important consideration is the assurance of accuracy through calibration.
September 1, 2017
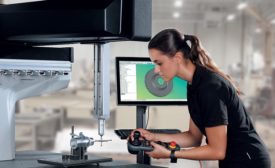
Controlling the Accuracy of a Shop Floor CMM
Understanding the influence of temperature on your CMM.
September 1, 2017
INDUSTRY HEADLINES
Perceptron Awarded Large Helix 3D Scanning Sensor Order in China
August 23, 2017
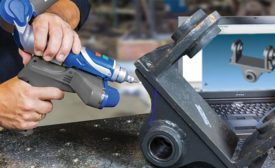
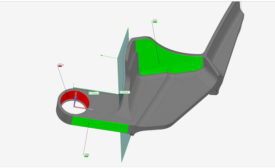
First Article Inspection with 3D Scanning
A growing number of companies are including this technology in their first article inspection procedures.
April 1, 2017
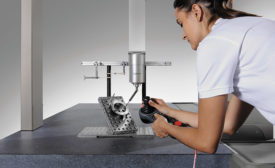
Navigating the New World of CMMs
How to select a CMM for your unique application.
February 1, 2017
Metrology Looks Towards Automation
Metrology and inspection solutions aim to stay in-line with factory automation.
December 1, 2016
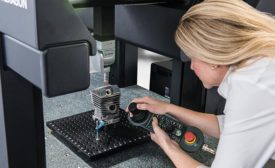
Boldly Re-engineered CMMs Take Throughput Seriously
Exploring trends and developments in today’s inspection equipment technology.
December 1, 2016
Stay in the know with Quality’s comprehensive coverage of
the manufacturing and metrology industries.
eNewsletter | Website | eMagazine
JOIN TODAY!Copyright ©2025. All Rights Reserved BNP Media.
Design, CMS, Hosting & Web Development :: ePublishing
