Home » coordinate measurement machine (CMM)
Articles Tagged with ''coordinate measurement machine (CMM)''
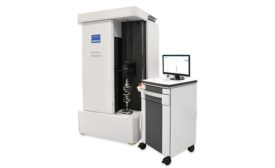
Whether you chose an optical, tactile, or hybrid shaft gage will depend on your unique needs.
Read More
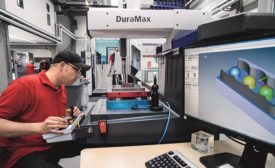
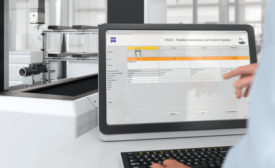
Improving Your Manufacturing Productivity and Quality with CMM Networking and Automation
Consider automating and moving your CMMs to the shop floor.
January 1, 2020
Fully Leveraging Machine Uptime
Offset measurements away from the machine tool boost manufacturing efficiency.
November 5, 2019
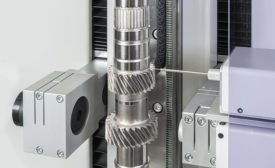
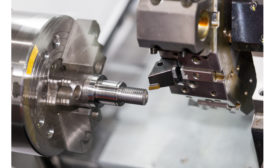
Shaft Measurement: What is the Best Tool for the Job?
Shaft measurement can be performed with a variety of metrology tools, from handheld devices to high-end coordinate measuring machines.
November 1, 2019
Achieving the Ideal Measuring Room with the Right Accessories
It’s critical to optimize your measurement machines and quality program with the right tools for your application.
September 1, 2019
Increasing Productivity with CMM Automation
Discover how shop floor equipment can simplify your measurement process.
August 1, 2019
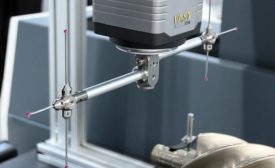
Choosing Sensors for your CMM
The goal of part inspection is to get results you can trust.
July 1, 2019
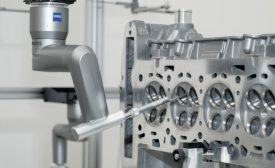
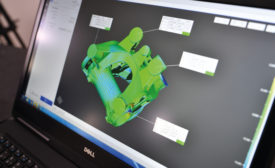
3D Scanning with Metrology
Metrology applications can benefit from the speed and data available from 3D scanning.
July 1, 2019
Stay in the know with Quality’s comprehensive coverage of
the manufacturing and metrology industries.
eNewsletter | Website | eMagazine
JOIN TODAY!Copyright ©2025. All Rights Reserved BNP Media.
Design, CMS, Hosting & Web Development :: ePublishing
