Home » coordinate measurement machine (CMM)
Articles Tagged with ''coordinate measurement machine (CMM)''
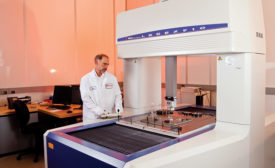
Understanding the power and complexity behind a CMM allows the operator to maximize productivity.
Measurement
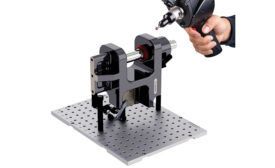
Don’t Forget Fixturing
Fixturing is frequently overlooked when purchasing coordinate measuring machines and vision or flexible gaging systems.
June 1, 2016
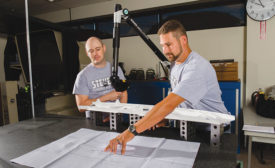
Stevens Manufacturing Conquers Quality with Dynamic Measurement Duo
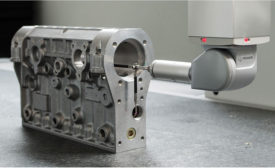
Portable, multi-function CMM ensures dimensional integrity of every part.
April 1, 2016
Fixturing Makes Strides as Manufacturing Advances
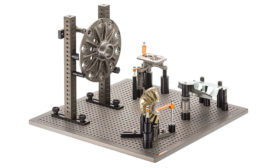
Manufacturing and part tolerance demands are driving evolution in fixture systems.
April 1, 2016
3 Keys to Improve, Optimize, and Enhance First Article Inspection
First article inspection enables the establishment of a stable production process that can deliver compliant parts of good quality.
February 2, 2016
Stay in the know with Quality’s comprehensive coverage of
the manufacturing and metrology industries.
eNewsletter | Website | eMagazine
JOIN TODAY!Copyright ©2025. All Rights Reserved BNP Media.
Design, CMS, Hosting & Web Development :: ePublishing
