Home » coordinate measurement machine (CMM)
Articles Tagged with ''coordinate measurement machine (CMM)''
Quality 101
Cylindrical ring gages may be used as master gages to set variable measuring tools.
Read More
Guide to Contracting Calibration Services
Many organizations today require ISO/IEC 17025 accredited calibrations, but simply requesting an accredited calibration is not enough.
April 7, 2021
Not All that is Green is Good
There are methods to hide bad product under green numbers.
December 1, 2020
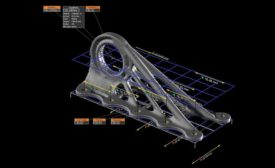
Keeping Up with Additive Manufacturing
AM production enables the creation of parts not possible with traditional technologies through new design concepts, new materials, and new applications, but still presents challenges.
December 1, 2020
Future-Proof Your Quality Systems
Manufacturers must take the opportunity now to bolster their quality systems.
October 31, 2020
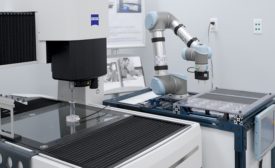
Collaborative Robots: Moving into the Quality Lab
Optipro enhances their world-class optics manufacturing systems using new tools for robotic machine tending and small part measurement.
August 4, 2020
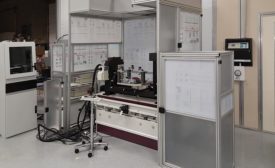
Utilizing CMM Data
Easily import results from CMM reports and incorporate the values into the ballooned drawing and inspection reports.
July 1, 2020
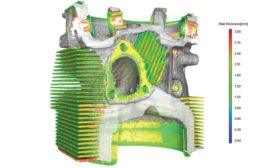
Computed Tomography for Nondestructive Testing
Analysis and visualization software is key to final quality.
June 1, 2020
Stay in the know with Quality’s comprehensive coverage of
the manufacturing and metrology industries.
eNewsletter | Website | eMagazine
JOIN TODAY!Copyright ©2024. All Rights Reserved BNP Media.
Design, CMS, Hosting & Web Development :: ePublishing


