Home » computed tomography
Articles Tagged with ''computed tomography''
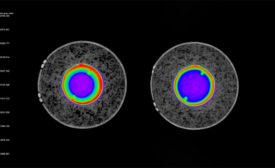
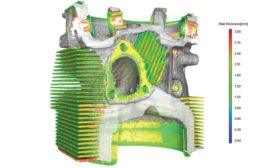
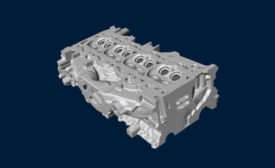
CT provides unparalleled insight into a 3D structure, including its density at every point throughout its volume.
Read More
Understanding Accuracy for Computed Tomography
If you take time to understand these definitions, standards and testing methods, you’ll be able to determine the accuracy of CT in your specific application.
October 5, 2020
Computed Tomography: Back to Basics
Computed tomography is a powerful nondestructive evaluation (NDE) technique for both 2D and 3D cross-sectional images of an object from X-ray images.
July 1, 2020
Computed Tomography for Nondestructive Testing
Analysis and visualization software is key to final quality.
June 1, 2020
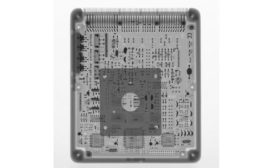
Nondestructive Inspection of Automotive Computers
As with the testing and evaluation of raw materials, controlling the quality of electronic devices is essential
April 8, 2020
How 3D Printing is Changing the Medical Device Field
Being able to manufacture these devices to conform to a patient’s anatomy is a game changer.
March 2, 2020
Seeing is Believing: 2D and 3D X-ray Technologies for Nondestructive Testing
X-ray based techniques have many advantages for inspection and quality control.
November 1, 2019
Sponsored Content
The Future is Now: The Impact of Industrial Computerized Tomography on the Castings Industry
October 18, 2019
NDT
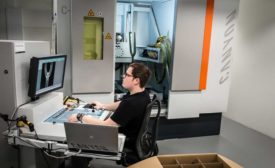
Industrial CT Raises the Bar for Canyon Bicycles
Inspection with the use of industrial X-ray and computed tomography has helped Canyon Bicycles raise the bar on quality and safety.
October 1, 2019
NDT
4 Reasons Why CT is the Best Method for Medical Device Quality Inspection
CT is a huge benefit to the medical device industry and will only continue to grow.
October 1, 2019
Stay in the know with Quality’s comprehensive coverage of
the manufacturing and metrology industries.
eNewsletter | Website | eMagazine
JOIN TODAY!Copyright ©2024. All Rights Reserved BNP Media.
Design, CMS, Hosting & Web Development :: ePublishing
