Home » computed tomography
Articles Tagged with ''computed tomography''
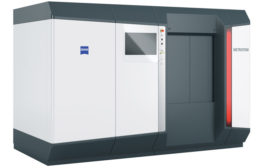
Metrotomography Brings New Precision to CT
While CT may have been niche technology in the past, today it is helping manufacturers all over the world solve difficult R&D, quality and production problems.
July 1, 2017
NDT WEB EXCLUSIVE
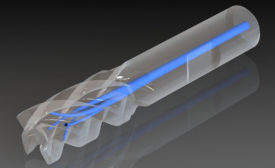
CT Inspection Aids Production of 3D-Printed Medical Implants
May 2, 2017
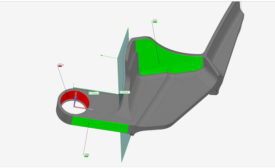
First Article Inspection with 3D Scanning
A growing number of companies are including this technology in their first article inspection procedures.
April 1, 2017
The Future of 3D Printing
With the combination of CT technology and 3D printing, many new applications are possible.
March 1, 2017
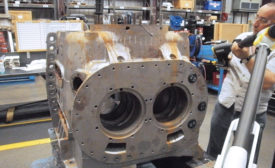
Reverse Engineering Continues to Expand its Role in Industry
Reverse engineering parts and systems enable aircraft to keep flying or machines to keep running.
October 1, 2016
Certified Inspection with CT Scanning
The most accurate CT scanning systems are built like a CMM with an X-ray probe.
July 1, 2016
Measurement
Seeing is Believing: X-ray Computed Tomography for Quality Control
Industrial X-ray CT is a 3-D measurement technique with many advantages.
June 1, 2016
Stay in the know with Quality’s comprehensive coverage of
the manufacturing and metrology industries.
eNewsletter | Website | eMagazine
JOIN TODAY!Copyright ©2024. All Rights Reserved BNP Media.
Design, CMS, Hosting & Web Development :: ePublishing
