Home » coordinate measurement machine (CMM)
Articles Tagged with ''coordinate measurement machine (CMM)''
New Features, Industries Elevate Laser Trackers
A big selling point of recent iterations is seamless integration into a user’s work process.
June 1, 2019
Measurement
Sensors Unmasked: The Changing Face of CMMs
Evolution is afoot in traditional measurement systems.
May 1, 2019
Quality Case Study: Perfection is Important
The Haas F1 team took a strategic approach to the challenge of quality inspection and reporting.
December 3, 2018
Coordinate Metrology Society
9 Things to Consider When Buying CMM Inspection Software
AN Evaluation checklist helps find the value-add in inspection software.
October 15, 2018
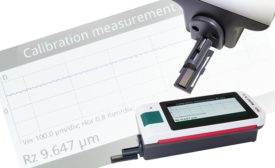
Calibrating Surface Gages for Success
The measurement of surface finish has come a long way in the past 70 years.
October 15, 2018
Computed Tomography: Optimizing Large Quantity Automated Measurements
Learn more about automated measurement techniques for large quantity screening applications.
October 8, 2018
Choosing the Right 3D Scanner
A quality engineer describes how he picks the right tool for the job.
October 1, 2018
Stay in the know with Quality’s comprehensive coverage of
the manufacturing and metrology industries.
eNewsletter | Website | eMagazine
JOIN TODAY!Copyright ©2024. All Rights Reserved BNP Media.
Design, CMS, Hosting & Web Development :: ePublishing
